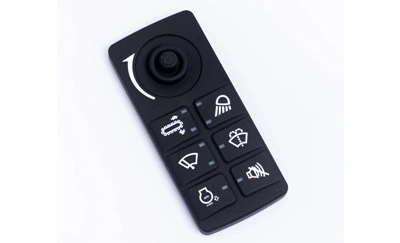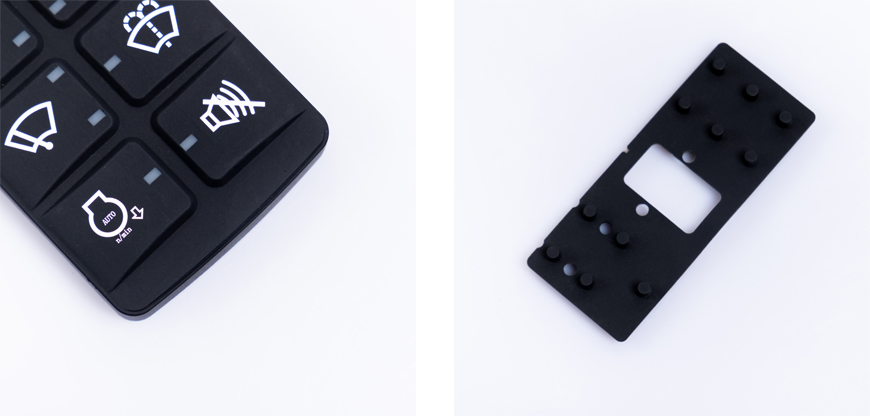
In today's digital age, membrane switches are found in a wide range of electronic devices, from microwave ovens to remote controls. These thin, flexible, and cost-effective switches are known for their durability and reliability. However, like any other component, membrane switches can develop issues over time. In this article, we will discuss how to fix a membrane switch, providing you with a comprehensive guide to troubleshooting and repairing common problems.
Membrane switches are ubiquitous in our daily lives, found in various electronic gadgets. They are the silent heroes that allow us to operate devices efficiently. However, when they start malfunctioning, it can be frustrating. Fortunately, many common issues with membrane switches can be fixed without the need for professional assistance.
What Is a Membrane Switch?
A custom membrane switch is a low-profile, momentary contact switch that consists of several layers. These layers include a graphic overlay, a spacer or separator, a printed circuit, and a backing adhesive. When you press a button on a membrane switch, it collapses the layers together, creating an electrical connection.
How Do Membrane Switches Work?
Membrane switches work on the principle of electrical conductivity. When you press a button, it bridges the gap between the upper and lower circuit layers, allowing current to flow. This completed circuit registers as a keypress, and the device responds accordingly.
Unresponsive Buttons
One of the most common issues with membrane switches is unresponsive buttons. You press a button, but nothing happens. This can be caused by dirt or debris trapped under the button or a worn-out contact.
Sticky or Non-Clicking Buttons
Sometimes, membrane switches develop sticky or non-clicking buttons. This issue occurs when the switch loses its tactile feedback, making it unpleasant to use.
Fading or Missing Graphics
Membrane switches often have printed graphics on the overlay. Over time, these graphics may fade or wear off, affecting the switch's aesthetics and usability.

Before attempting to fix a membrane switch, gather the following tools and materials:
· Screwdriver set
· Isopropyl alcohol
· Cotton swabs
· Soft brush
· Replacement overlay (if necessary)
Safety should always be a priority when working with electronic devices. Here are some precautions to follow:
· Disconnect the device from the power source.
· Work in a clean and well-lit area.
· Use ESD (Electrostatic Discharge) precautions to avoid damaging sensitive components.
1. Disassembling the Device
Begin by opening the device housing. Use a screwdriver set to carefully remove the screws securing the cover. Once the cover is removed, locate the membrane switch.
2. Inspecting the Membrane Switch
Examine the capacitive membrane switch for any visible damage, dirt, or debris. If you spot any issues, proceed with cleaning or replacing the damaged components.
3. Cleaning the Membrane Switch
Using a soft brush and isopropyl alcohol, gently clean the membrane switch's surface, paying close attention to the buttons and circuit traces. Ensure all dirt and residue are removed.
4. Reassembling the Device
Carefully reassemble the device, securing the cover with the screws. Make sure all components are properly aligned and connected.
After reassembly, power on the device and test the membrane switch. Check if the issues have been resolved. If not, you may need to seek professional help.
If you are unable to fix the membrane switch issues on your own or if the problems persist, it's advisable to consult a professional technician or contact the device manufacturer for support.
To ensure the longevity of your membrane switch, follow these maintenance tips:
· Regularly clean the switch's surface.
· Avoid using abrasive materials for cleaning.
· Replace the overlay if graphics wear off.
· Keep the device away from extreme temperatures and moisture.
1. Can I use any cleaning solution to clean my membrane switch?
It's best to use isopropyl alcohol as it evaporates quickly and leaves no residue.
2. How often should I clean my membrane switch?
Cleaning every few months is recommended, or as needed if issues arise.
3. Can I replace the membrane switch overlay myself?
Yes, you can replace the overlay, but it requires careful handling and alignment.
4. What if my membrane switch still doesn't work after cleaning?
If issues persist, seek professional assistance.
5. Are membrane switches durable in harsh environments?
Membrane switches such as can silicone rubber membrane switch withstand moderate environmental conditions, but extreme conditions may affect their performance.