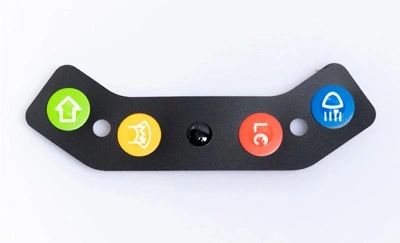
In today's digital age, we rely on various electronic devices equipped with membrane switches for a wide range of functions, from microwave ovens to remote controls and calculators. These switches are sensitive and efficient, but they can occasionally malfunction due to wear and tear. The good news is that you can often repair a malfunctioning membrane switch yourself, saving time and money on replacements. In this comprehensive guide, we'll walk you through the process of repairing a membrane switch step by step.
A custom membrane switch is a low-profile, user-interactive device that utilizes a flexible printed circuit board to control various functions. It consists of several layers, including a graphic overlay, spacer, and conductive layers. When you press a button on a membrane switch, it makes contact between the upper and lower circuit layers, completing an electrical circuit and triggering the desired action.
To effectively repair a custom keypad membrane, it's crucial to identify the common issues that can arise:
Non-Responsive Buttons: When some or all buttons on the membrane switch do not respond to touch.
Sticky or Unresponsive Buttons: Buttons that feel sticky or do not bounce back after being pressed.
Worn Out Graphics: Fading or peeling of the graphic overlay, making it difficult to read or use.
Cracked Overlay: Physical damage to the overlay, affecting its functionality.
Intermittent Functionality: Buttons that work sporadically, making the device unreliable.
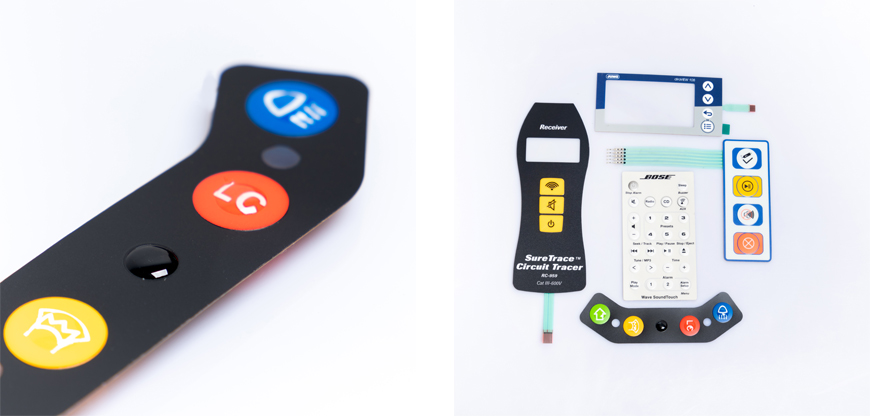
Before you begin the repair process, gather the following tools and materials:
Screwdriver Set: To open the device housing.
Isopropyl Alcohol: For cleaning the membrane switch.
Cotton Swabs: For applying the alcohol.
Replacement Overlay: If the graphic overlay is damaged beyond repair.
Multimeter: For testing continuity and identifying faults.
Now, let's get into the nitty-gritty of repairing a membrane switch:
Step 1: Safety First
Before starting any repairs, ensure the device is disconnected from the power source to avoid electrical hazards.

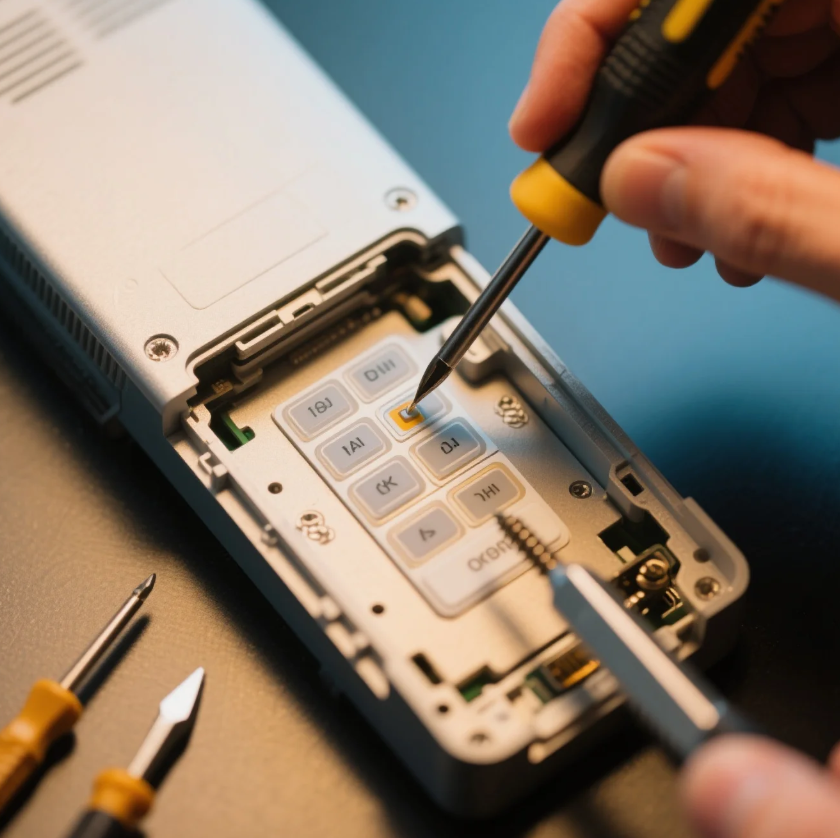
Step 2: Accessing the Membrane Switch
Use the screwdriver set to carefully open the device housing and expose the membrane switch.
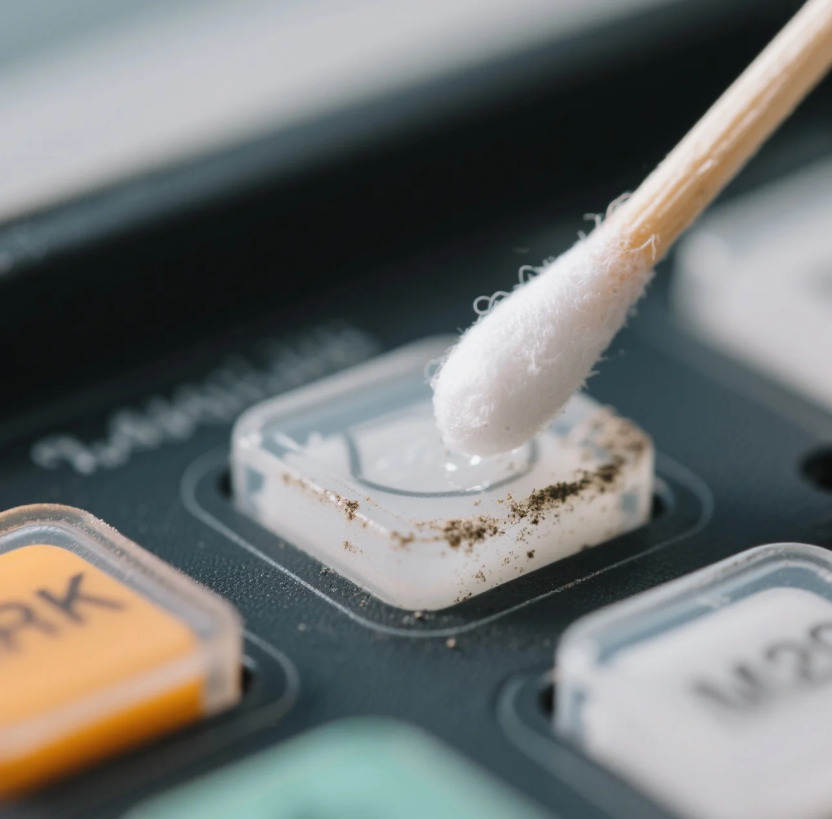
Step 3: Cleaning the Switch
Dip a cotton swab in isopropyl alcohol and gently clean the surface of the membrane switch. This helps remove dirt and grime that may cause non-responsiveness.
Step 4: Testing for Continuity
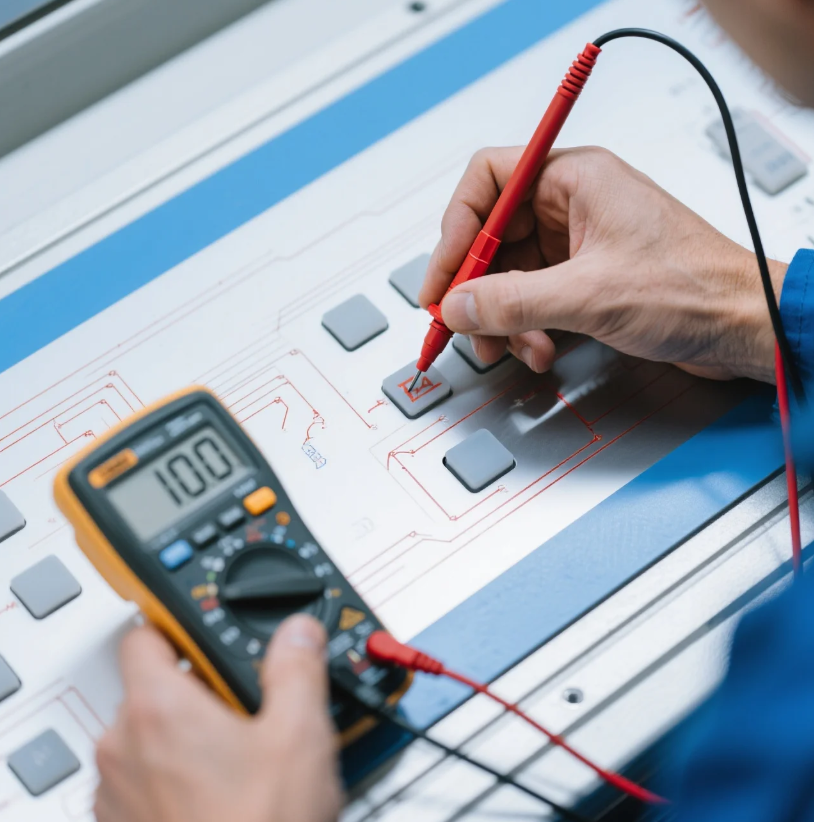
Use a multimeter to test the continuity of the conductive traces on the membrane switch. Identify any broken traces and note their locations.
Step 5: Repairing Broken Traces
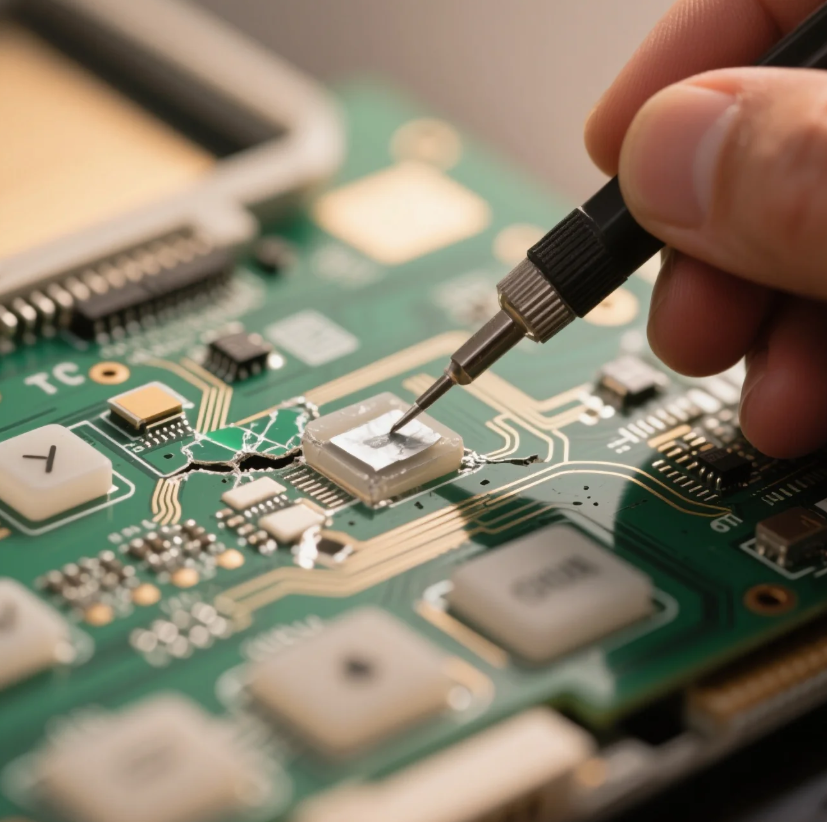
If you find broken traces, use a conductive adhesive or repair kit specifically designed for membrane switches to mend the damaged areas.
Step 6: Reassembling the Device
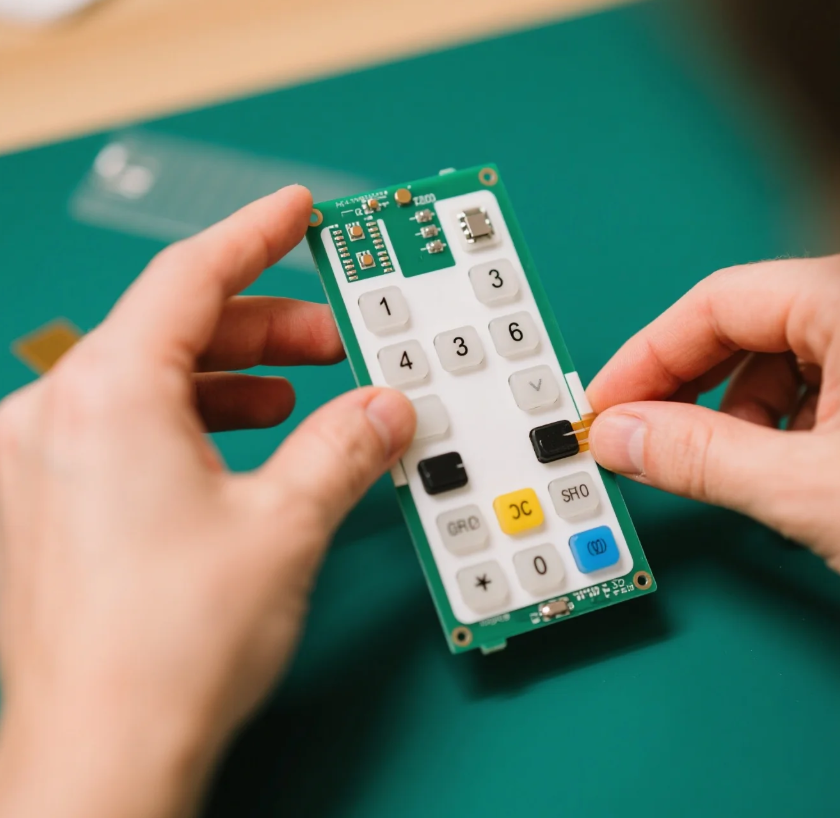
Carefully reassemble the device, ensuring all components are in their proper positions.
Step 7: Testing the Membrane Switch
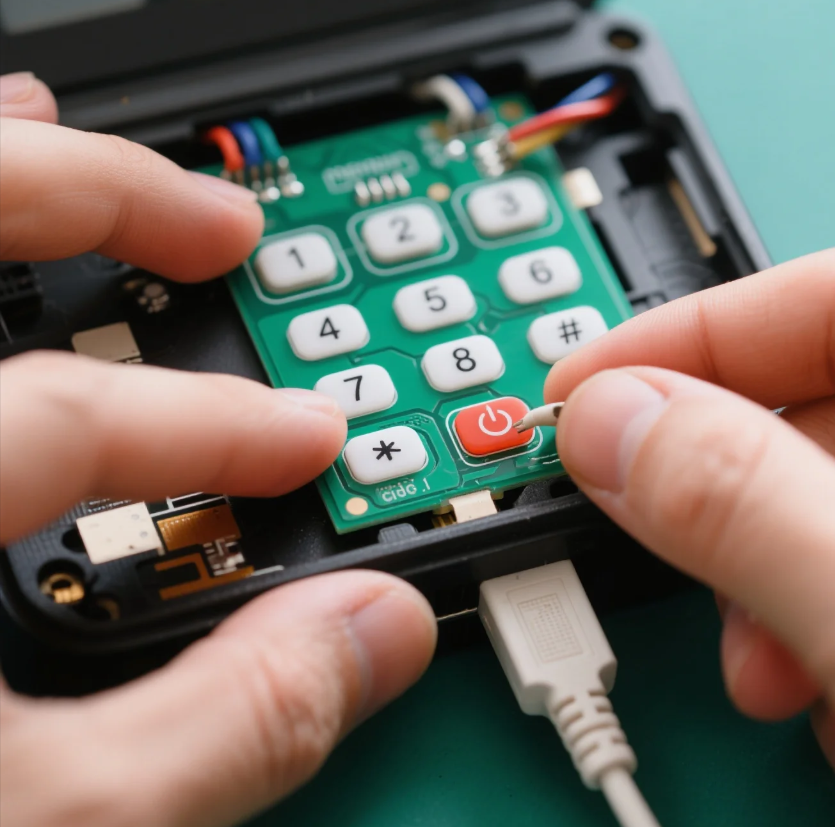
Reconnect the device to the power source and test the repaired membrane switch to ensure all buttons are responsive.
Repairing a malfunctioning membrane switch is a cost-effective way to extend the lifespan of your electronic devices. With the right tools and a little patience, you can restore full functionality to your gadgets. Remember to follow safety precautions and consult a professional such as a membrane switch manufacturer if you encounter complex issues.
Can I repair a cracked graphic overlay myself?
Yes, you can repair minor cracks using clear adhesive tape, but for severe damage, it's best to replace the overlay.
Is it safe to use isopropyl alcohol on a membrane switch?
Yes, isopropyl alcohol is safe for cleaning membrane switches. Just ensure the device is unplugged.
What if I can't identify the broken traces on the switch?
If you're unsure, it's best to seek professional assistance to avoid further damage.
How often do membrane switches need to be replaced?
The lifespan of a membrane switch varies, but with proper care and maintenance, they can last for several years.
Where can I find replacement overlays for my device?
Replacement overlays are available from electronics suppliers or membrane switch manufacturers.