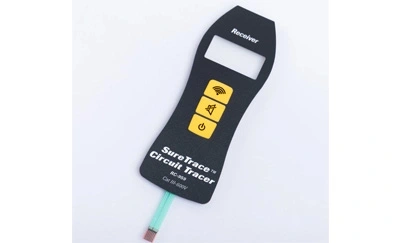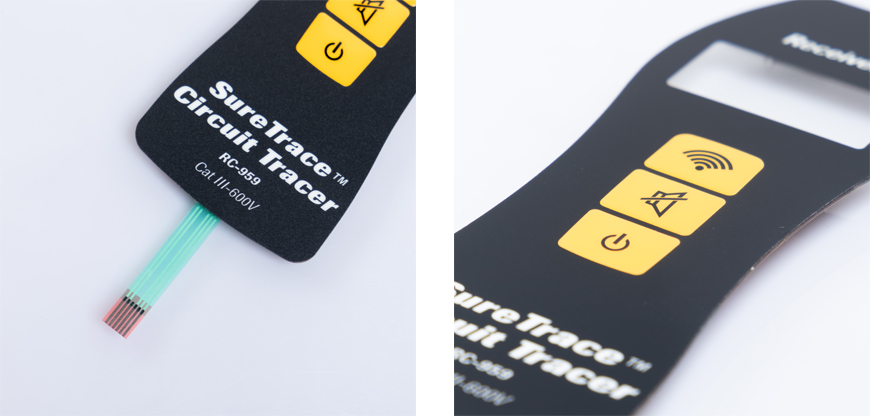
In today's technological world, membrane switch keypads have become an integral part of various electronic devices, from microwave ovens to sophisticated industrial control panels. These slim, durable, and cost-effective interfaces are preferred for their reliability and versatility. If you're looking to create a membrane switch keypad, you've come to the right place. In this article, we will provide you with a comprehensive guide on how to build your own membrane switch keypad. Let's dive in!

1. Introduction to Membrane Switch Keypads
2. Components Required for Building a Membrane Switch Keypad
3. Designing the Membrane Switch Layout
· Choosing the Keypad Size and Shape (H2)
· Selecting the Membrane Material (H2)
· Deciding on the Circuitry (H2)
4. Creating the Membrane Switch Circuit
· Designing the Printed Circuit Board (H2)
· Attaching the Conductive Traces (H2)
· Adding the Dome Switches (H2)
5. Assembling the Membrane Switch Keypad
· Layering the Components (H2)
· Securing the Layers (H2)
· Testing the Keypad (H2)
6. Finalizing the Membrane Switch Keypad
· Adding the Overlay (H2)
· Sealing and Enclosure (H2)
· Quality Control (H2)
7. Conclusion
8. Frequently Asked Questions
Before diving into the construction process, let's understand what a membrane switch keypad is. A membrane switch keypad is a user interface that utilizes a thin, flexible membrane as the key surface. When a user presses a key, the membrane makes contact with a conductive circuit underneath, registering the input. These keypads are commonly used in various applications, including consumer electronics, medical devices, and industrial control systems.
To get started with your project, you'll need the following components:
· Membrane material
· Printed circuit board (PCB)
· Conductive traces
· Dome switches
· Overlay material
· Adhesive
· Enclosure
Choosing the Keypad Size and Shape
The first step is to decide on the size and shape of your membrane switch keypad. Consider the device's purpose and user requirements when making this choice.
Selecting the Membrane Material
Choose a high-quality membrane material that suits your application. Options include polyester, polyethylene, and polycarbonate.
Deciding on the Circuitry
Plan the circuitry layout for your keypad, including the arrangement of keys and the pathways for electrical connections.
Designing the Printed Circuit Board
Design a PCB that matches the circuitry layout you've planned. Ensure precision in trace placement and connections.
Attaching the Conductive Traces
Carefully attach conductive traces to the PCB, connecting each key to its respective circuit.
Adding the Dome Switches
Incorporate dome switches beneath each key to provide tactile feedback and enhance the user experience.
Layering the Components
Carefully stack the membrane, PCB, and dome switches, aligning them perfectly.
Securing the Layers
Use adhesive to secure the layers together, ensuring there are no air bubbles or wrinkles.
Testing the Keypad
Before finalizing the assembly, test each key to ensure it registers correctly and reliably.
Adding the Overlay
Apply the overlay material on top of the membrane, providing protection and labeling for the keys.
Sealing and Enclosure
Seal the keypad to prevent moisture and dust ingress, and enclose it in a suitable casing if required.
Quality Control
Perform quality control tests to ensure the keypad functions flawlessly and meets your specifications.
Building a membrane switch keypad may seem complex, but with careful planning and attention to detail, it can be a rewarding DIY project. These keypads offer a reliable and user-friendly interface for a wide range of applications.
What are the advantages of membrane switch keypads?
Membrane switch keypads offer durability, flexibility, and cost-effectiveness.
Can I use any membrane material for my keypad?
The choice of membrane material depends on your application's requirements.
How do I ensure the keypad functions correctly after assembly?
Thoroughly test each key for proper registration and functionality.
Are membrane switch keypads waterproof?
With proper sealing, membrane switch keypads can be made waterproof.
Where can I find the components for building a membrane switch keypad?
You can source the components from electronic component suppliers and manufacturers.